

The sun begins to set over the green-gray North Atlantic Ocean, as seen from the hexagonal basalt columns of Giant’s Causeway. Legend has it that the Irish giant, Finn McCool, built the Causeway across the North Channel so that he could fight the Scottish giant, Benandonner. After building the causeway and coming face to face with Benandonner, Finn hid from Benandonner when he realized that his foe was much bigger than he was. Finn’s wife, Oonagh, then disguised Finn as a baby and tucked him in a cradle. When Benandonner saw the size of the ‘baby’, he reckoned that its father, Finn, must be a giant among giants. He fled back to Scotland in fright, destroying the causeway behind him so that Finn would be unable to chase him down. In support of this legend, across the sea at Scotland’s Fingal’s Cave, there are identical basalt columns which are part of the same lava flow. Prints Available.
Photo of the Week

Dandelions dot a mountain meadow as spring finally arrives to Vermont’s Northeast Kingdom. Prints Available.
Photo of the Week

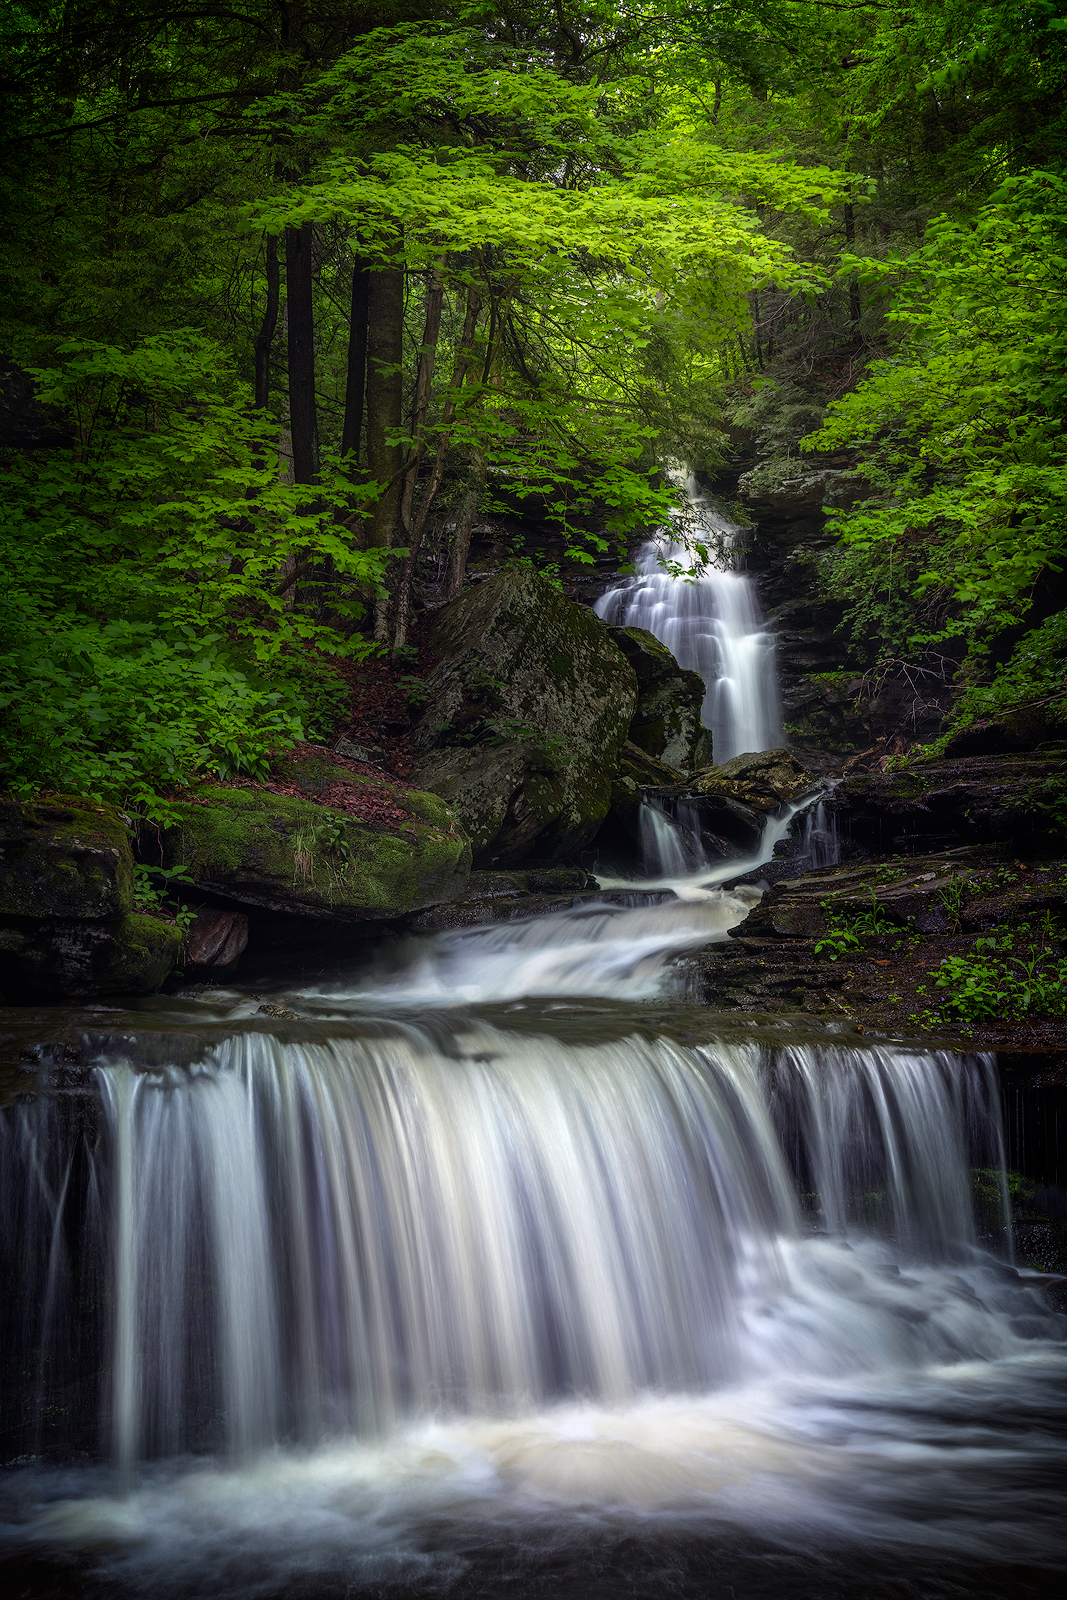
While photographing waterfalls, there’s one phrase that’s often in my head – “get wet.” I love getting right into the water (where it’s safe to do so) and feeling the cool water surge over my legs, almost as if I’ve become part of the stream – a human boulder of sorts that the water must navigate around. Besides feeling in tune and connected with the water, getting wet in these situations also serves the purpose of putting me at an optimal vantage point to get my camera right up near a cascade to use as a bold foreground, like in the image shown here. Ricketts Glen State Park, Pennsylvania. Prints Available.
Photo of the Week
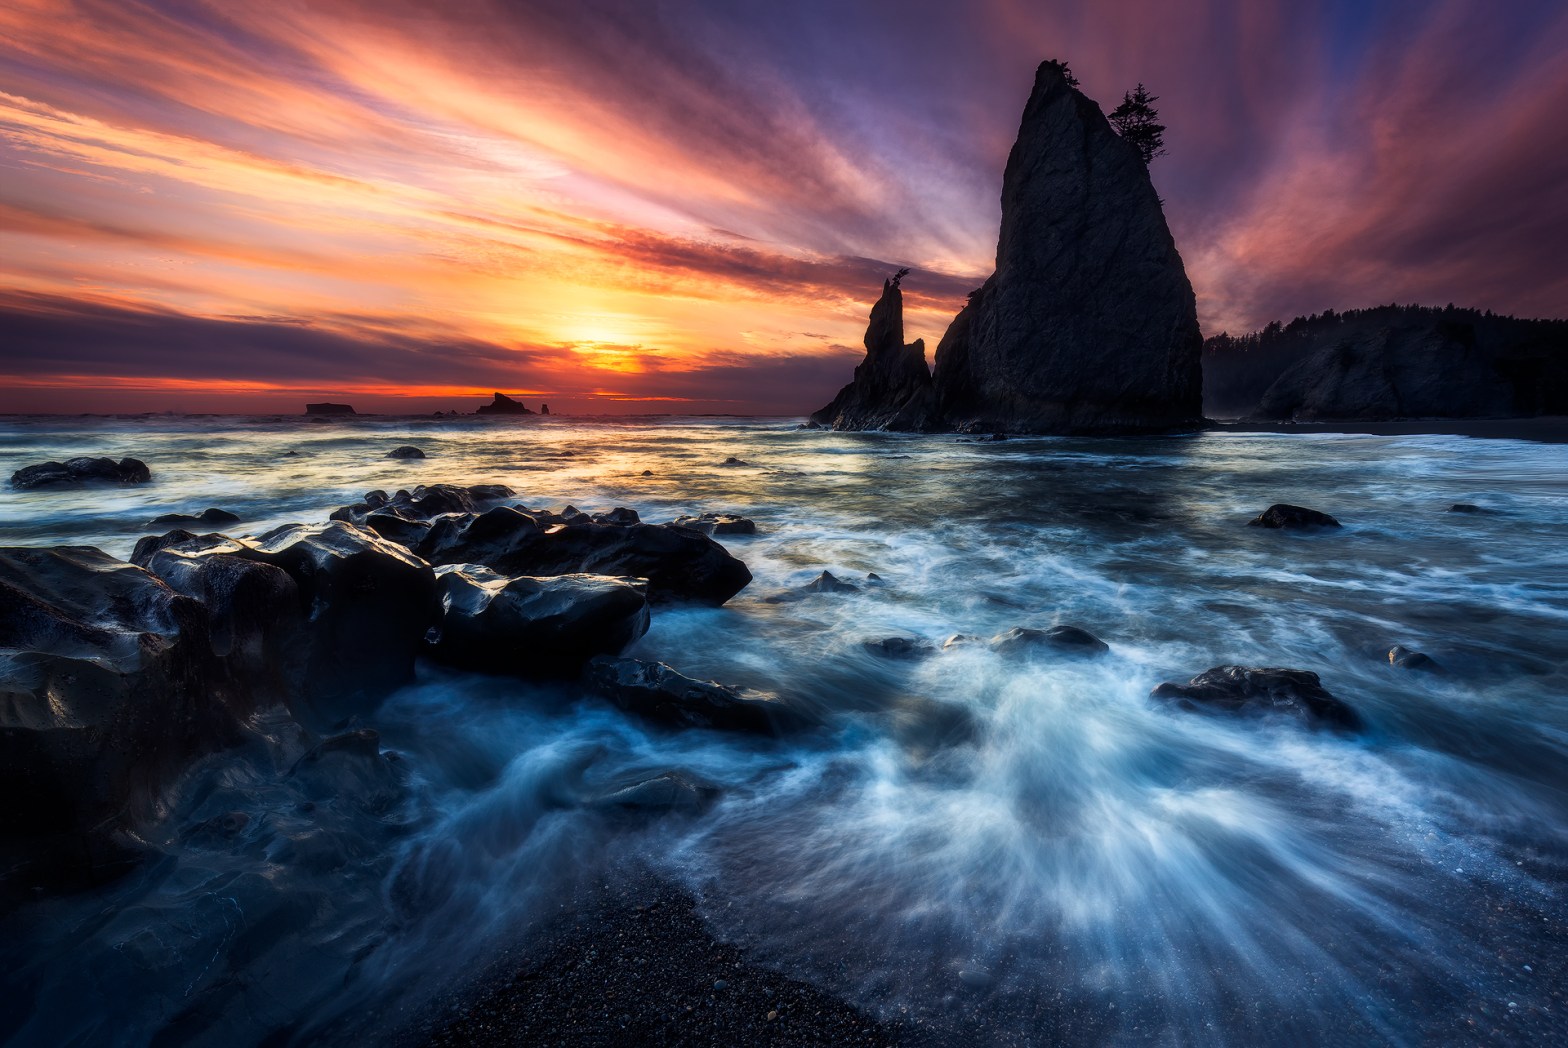
A beautiful winter sunset along the dramatic coast at Rialto Beach. Olympic National Park, Washington. Prints Available.
Photo of the Week
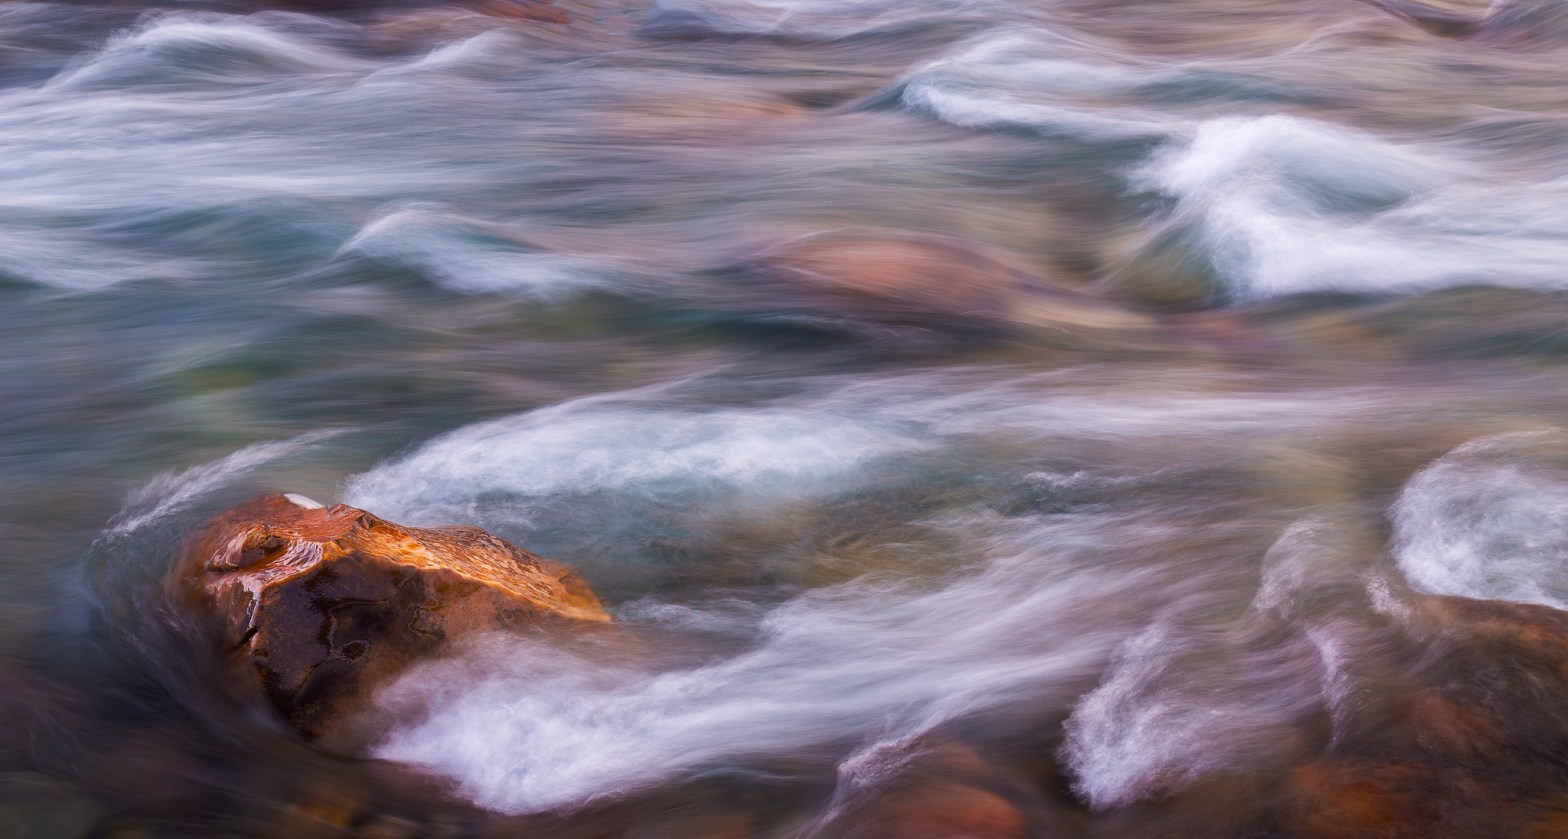
The glacier-fed waters of the Athabasca River flow over colorful rocks and boulders in winter. Jasper National Park, Alberta, Canada. Prints Available.
Spring Equinox 2024
Waterfalls cascade through the verdant spring forest after a rainstorm in Pennsylvania’s Ricketts Glen State Park. Prints Available.
Photo of the Week

An ephemeral rainbow touches down on a mountain ridge covered in beautiful fall foliage. Blackwater Falls State Park, West Virginia. Prints Available.
Photo of the Week
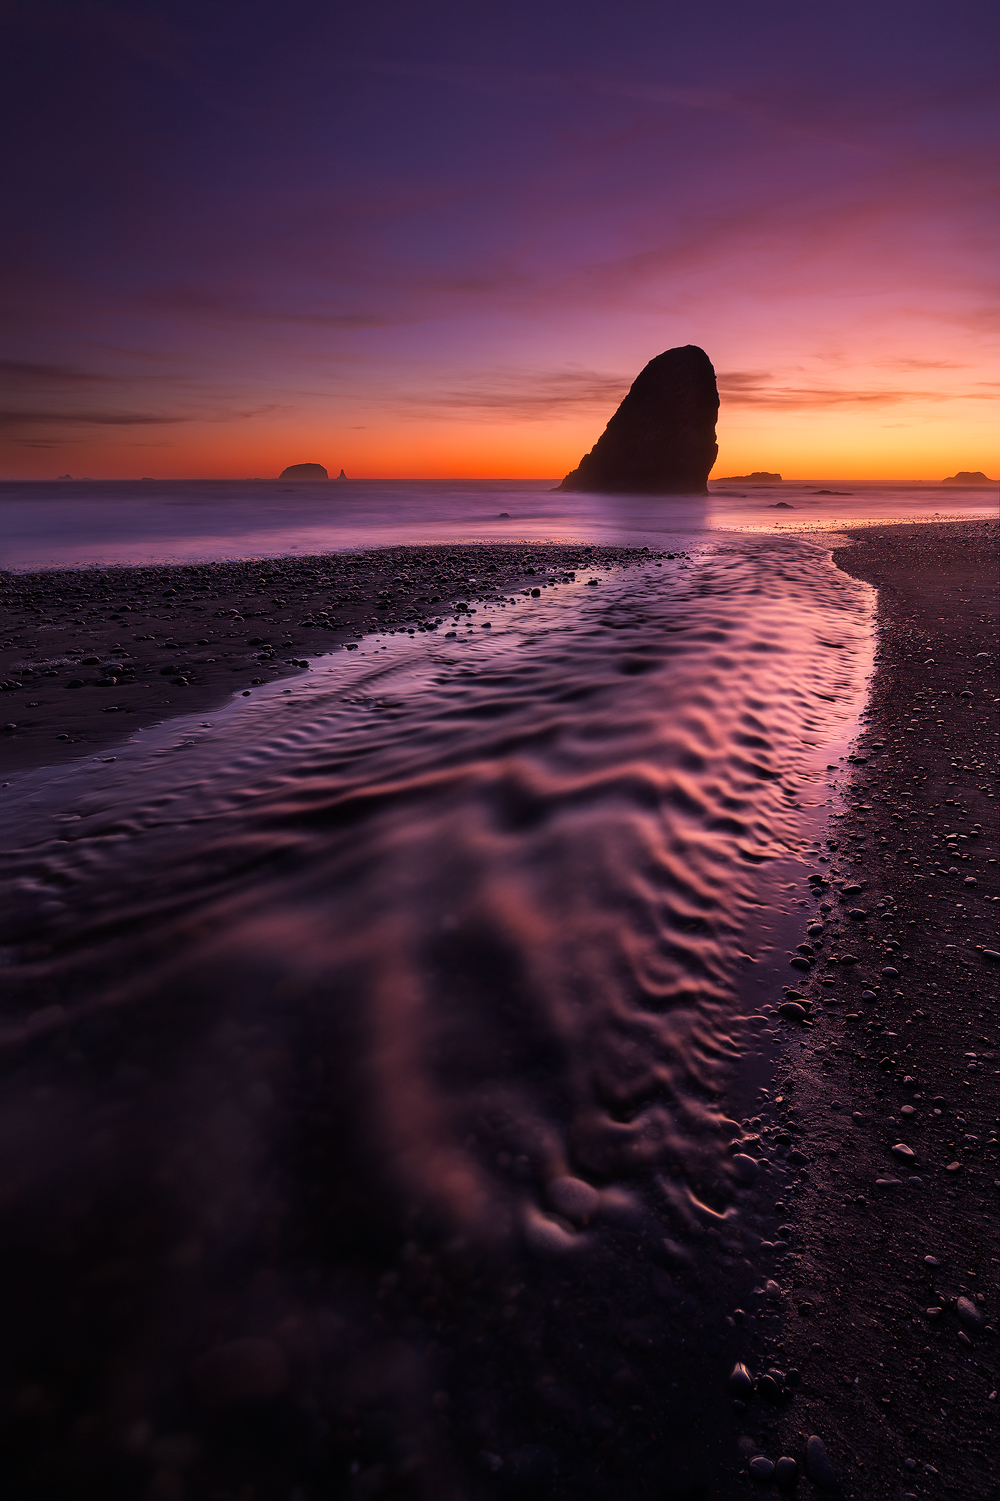
The post-sunset glow illuminates the ripples of Cedar Creek as it flows towards the Pacific Ocean. Olympic National Park, Washington. Prints Available.
Ready to Hang

My photo Infinity is available! Infinity is a 12 x 18 canvas print that comes ready to hang. This canvas print can be picked up or shipped. Please reach out if interested! Sunshine, bright foliage, breaking morning fog and unusually calm winds all combined to create an enchanting autumn scene. It’s tough to beat fall in the Adirondacks!
Photo of the Week
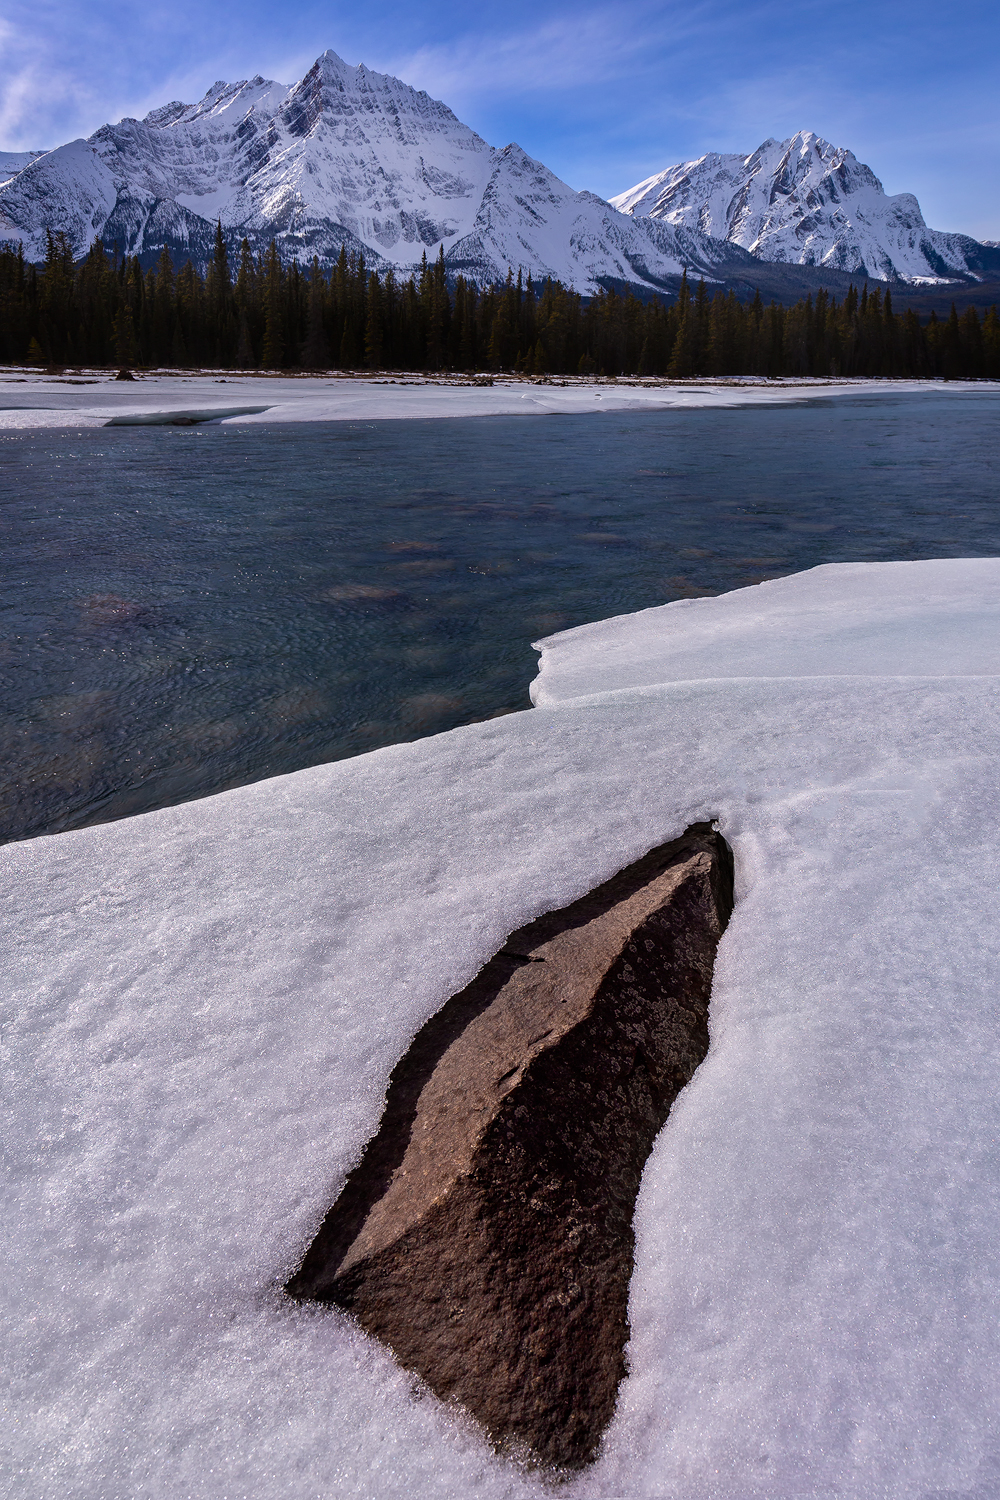
A boulder protrudes from the icy shore of the Athabasca River as winter slowly cedes to spring. Jasper National park, Alberta. Prints Available.
