

A beautiful A-frame cabin made for a wonderful winter getaway to the Adirondack Mountains and on this clear night the starry sky was the perfect complement to a roaring fire in the snow. Prints Available.
Canvas Prints
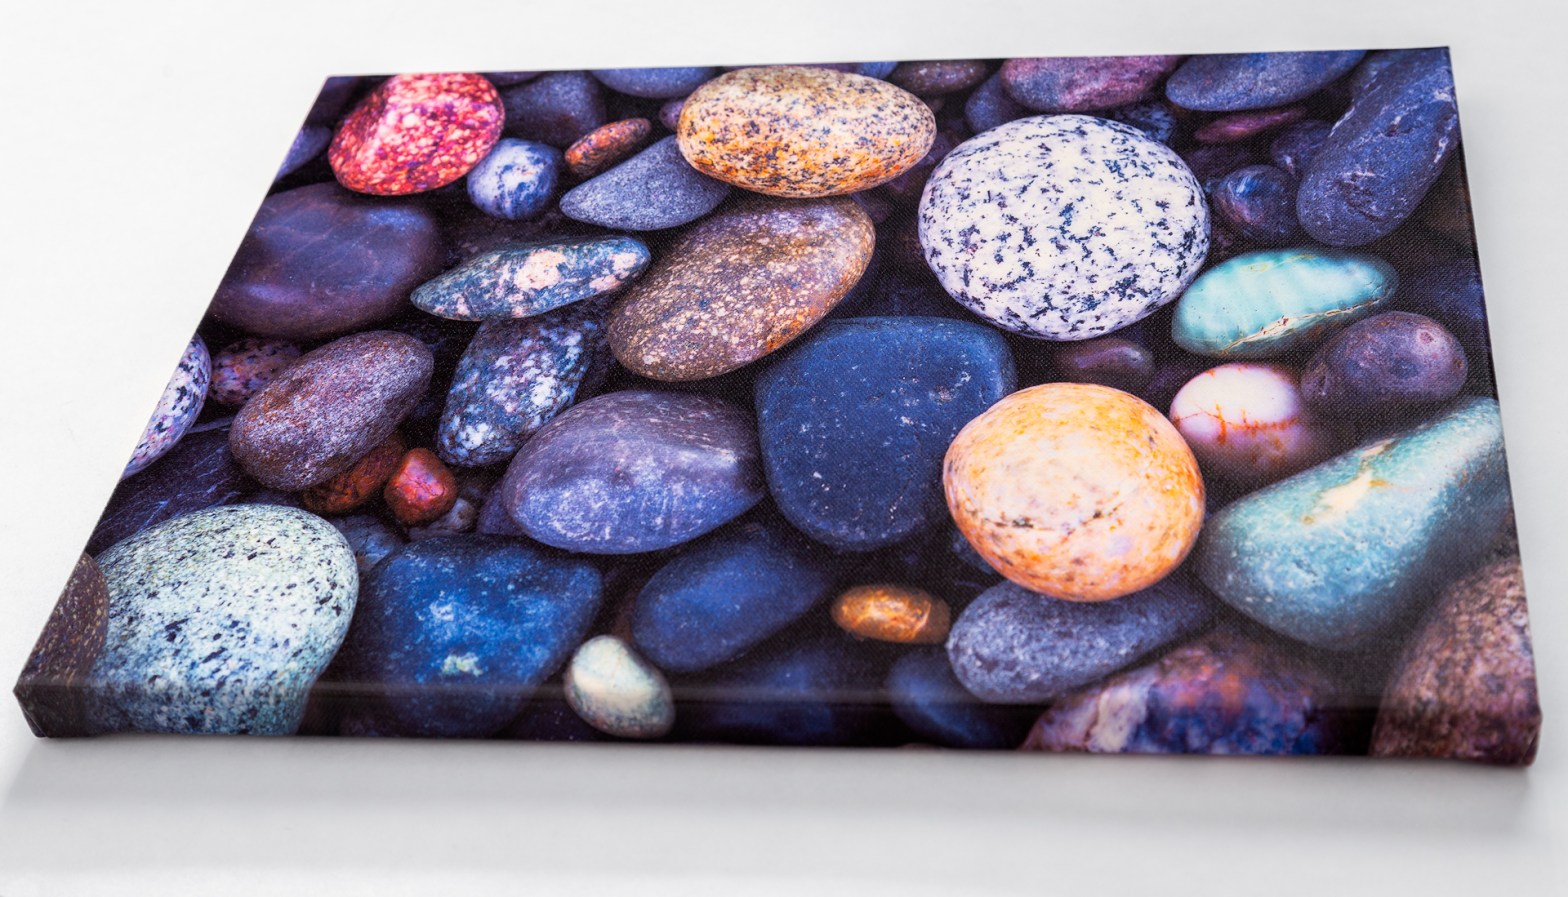
Canvas prints come ready to hang, and their lightweight nature makes hanging them a breeze. The canvas is wrapped around a 1.25 inch thick pinewood frame, and images are printed on high-quality canvas that will resist fading for over 100 years.
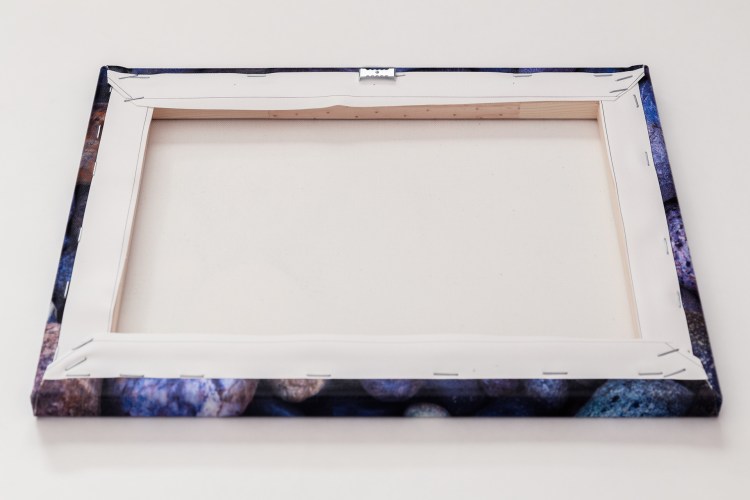
Photo of the Week
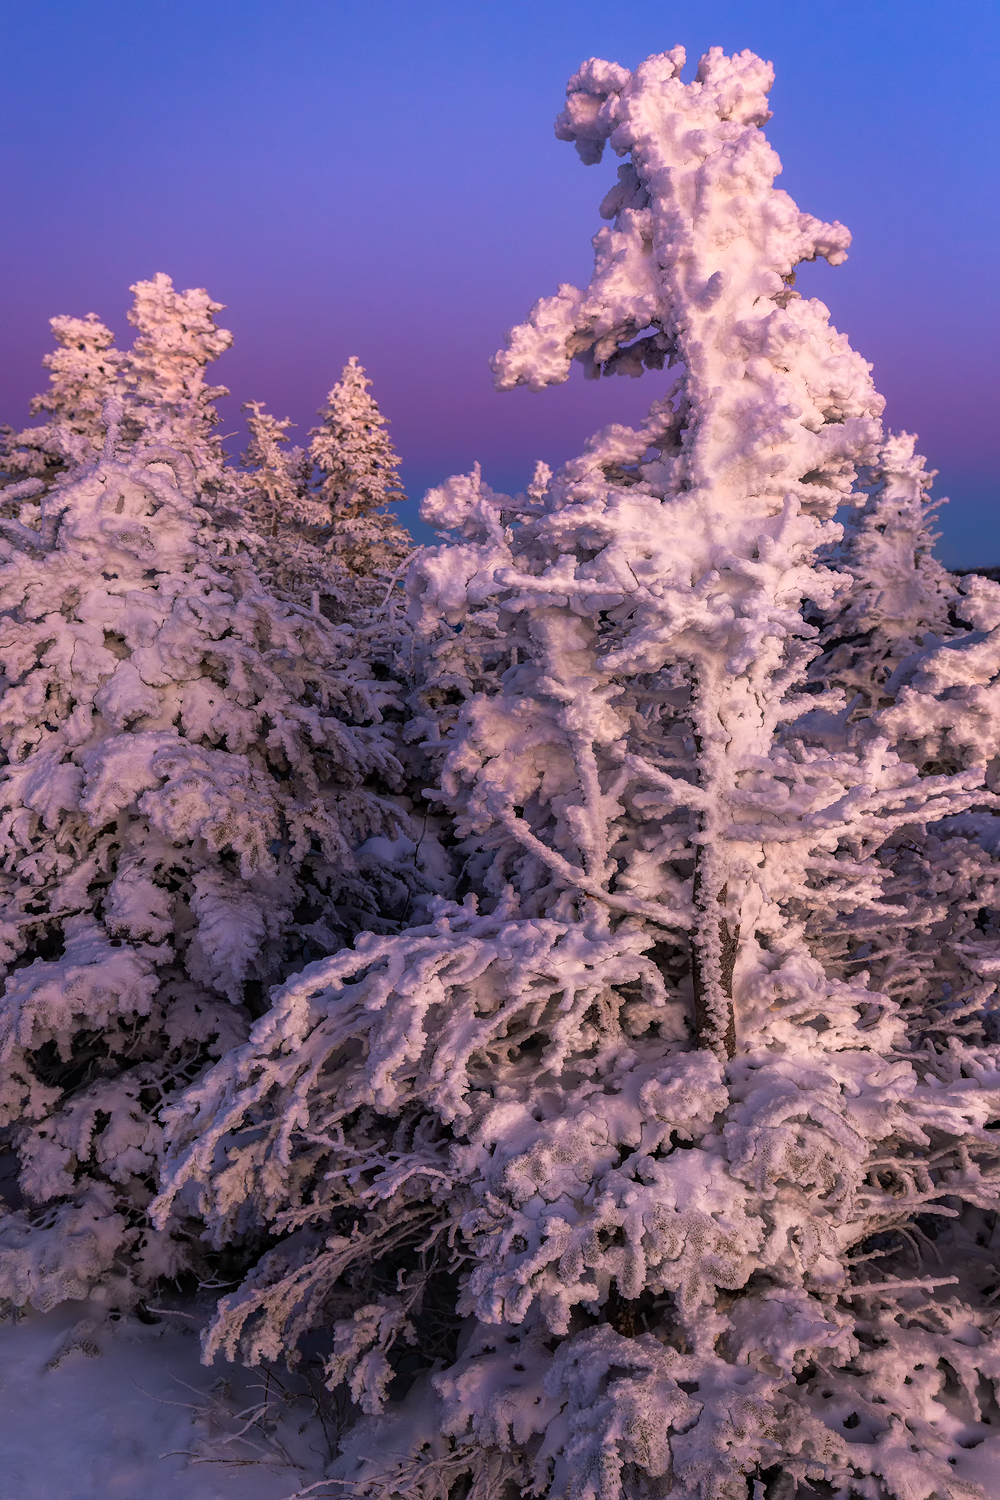
Snowy evergreens on a mountain summit bask in an incredible post-sunset glow. Adirondack High Peaks, New York. Prints Available.
Publications and Recognition
While photography for me is not about receiving recognition, it does always feel good to have my work published, shared, and recognized. I’m very grateful that my photography and writing have been published in print, online, or on social media by a variety of companies and organizations, as well recognized in photo contests and art shows both locally and internationally. Select examples are outlined below.
Companies/Organizations
- Adirondack Life
- Adirondack Mountain Club
- Appalachian Mountain Club
- Backpacker Magazine
- Cape Cod Life
- Down East Magazine
- Eastern Mountain Sports
- I Love NY
- L.L.Bean
- Landscape Photography Magazine
- Local ADK Magazine
- New York State Department of Environmental Conservation
- Nova Craft Canoe
- Outside
- Smoky Mountain Living Magazine
- TÖST Beverages
- Venque Backpacks
- Visit Adirondacks
Winter Cover
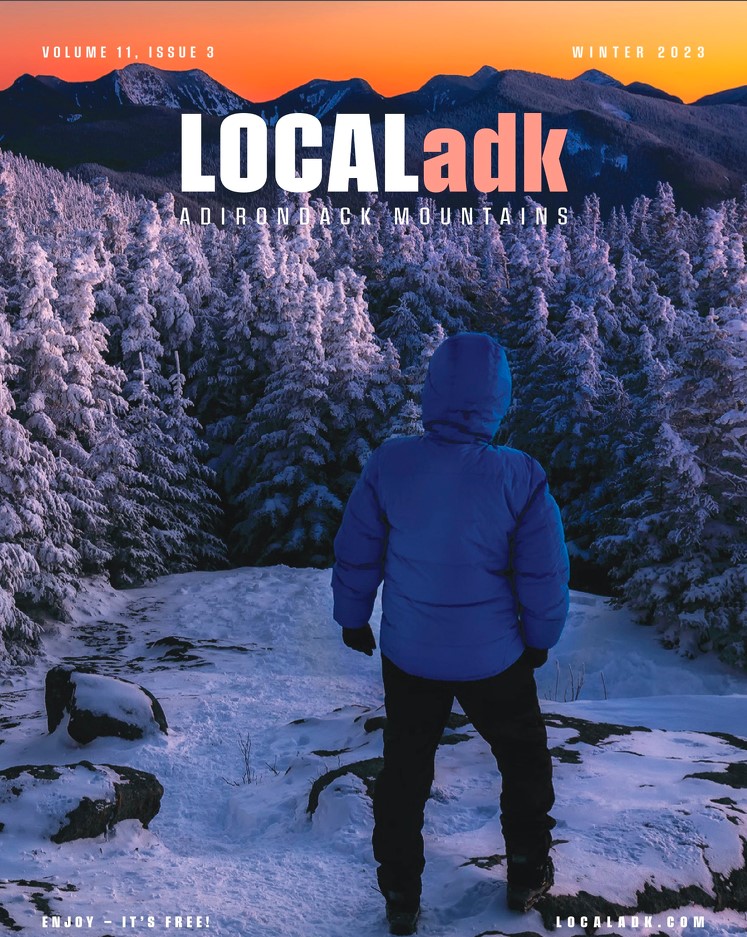
My sunset photo from Cascade Mountain was chosen as the winter cover of LOCALadk Magazine! Check out the digital version here or subscribe to the magazine for $25 a year.
Photo of the Week
Snowy evergreens on the summit of Cascade bask in an incredible post-sunset glow. The stunning beauty of the mountains on this frigid winter day was made all the more memorable by the frigid -30 degree windchill that the evergreens and I endured as we took in the most beautiful winter sunset I’ve ever seen. Adirondack High Peaks, New York. Prints Available.
About Me
There is no place that I feel more alive, more connected to what is important, than the wilderness. Whether an icy mountain summit, a misty forest, or a rocky coastline, the wild places of the world feel like home to me. While my love for the outdoors precedes my passion for photography, I now could not imagine having one without the other. Add a car to the equation, and the result for me is the feeling of absolute freedom, where the possibilities are limited only by my imagination and willpower. The roots of my passion for photography took hold while I was in college, and the memories of messing around with my first point-and-shoot camera are as strong as if those moments happened but last week. Back then I knew next to nothing about photography, but the thrill of exploring wild, lonely lands and trying to capture the beauty of the landscape and the emotions that it stirred up in me made me feel alive like never before. Since those early days of escaping campus at Syracuse University to go explore the nearby Morgan Hill State Forest, photography has taken me on a journey that my 20 year old self could have only dreamed of. From exploring the wild coast of Washington’s Olympic National Park with my best friends, to countless trips and treasured moments with my dad, to a year-long solo road-trip odyssey through the American West and British Columbia after finishing my PhD in Chemical & Biomolecular Engineering at Johns Hopkins, to camping in the Adirondacks with my wife and dog, exploring and photographing wilderness has been the driving force of my life. Each time I press the shutter and capture a singular moment in the wilds, something is awakened in me and I unequivocally realize that there is nothing else that I’d rather be doing. I hope that as you view my photography you’ll feel the same sense of awe and wonder that the wilderness instills in me, and that you’ll be inspired to set forth into the wilds and search for your own momentary awakenings.
Photo of the Week

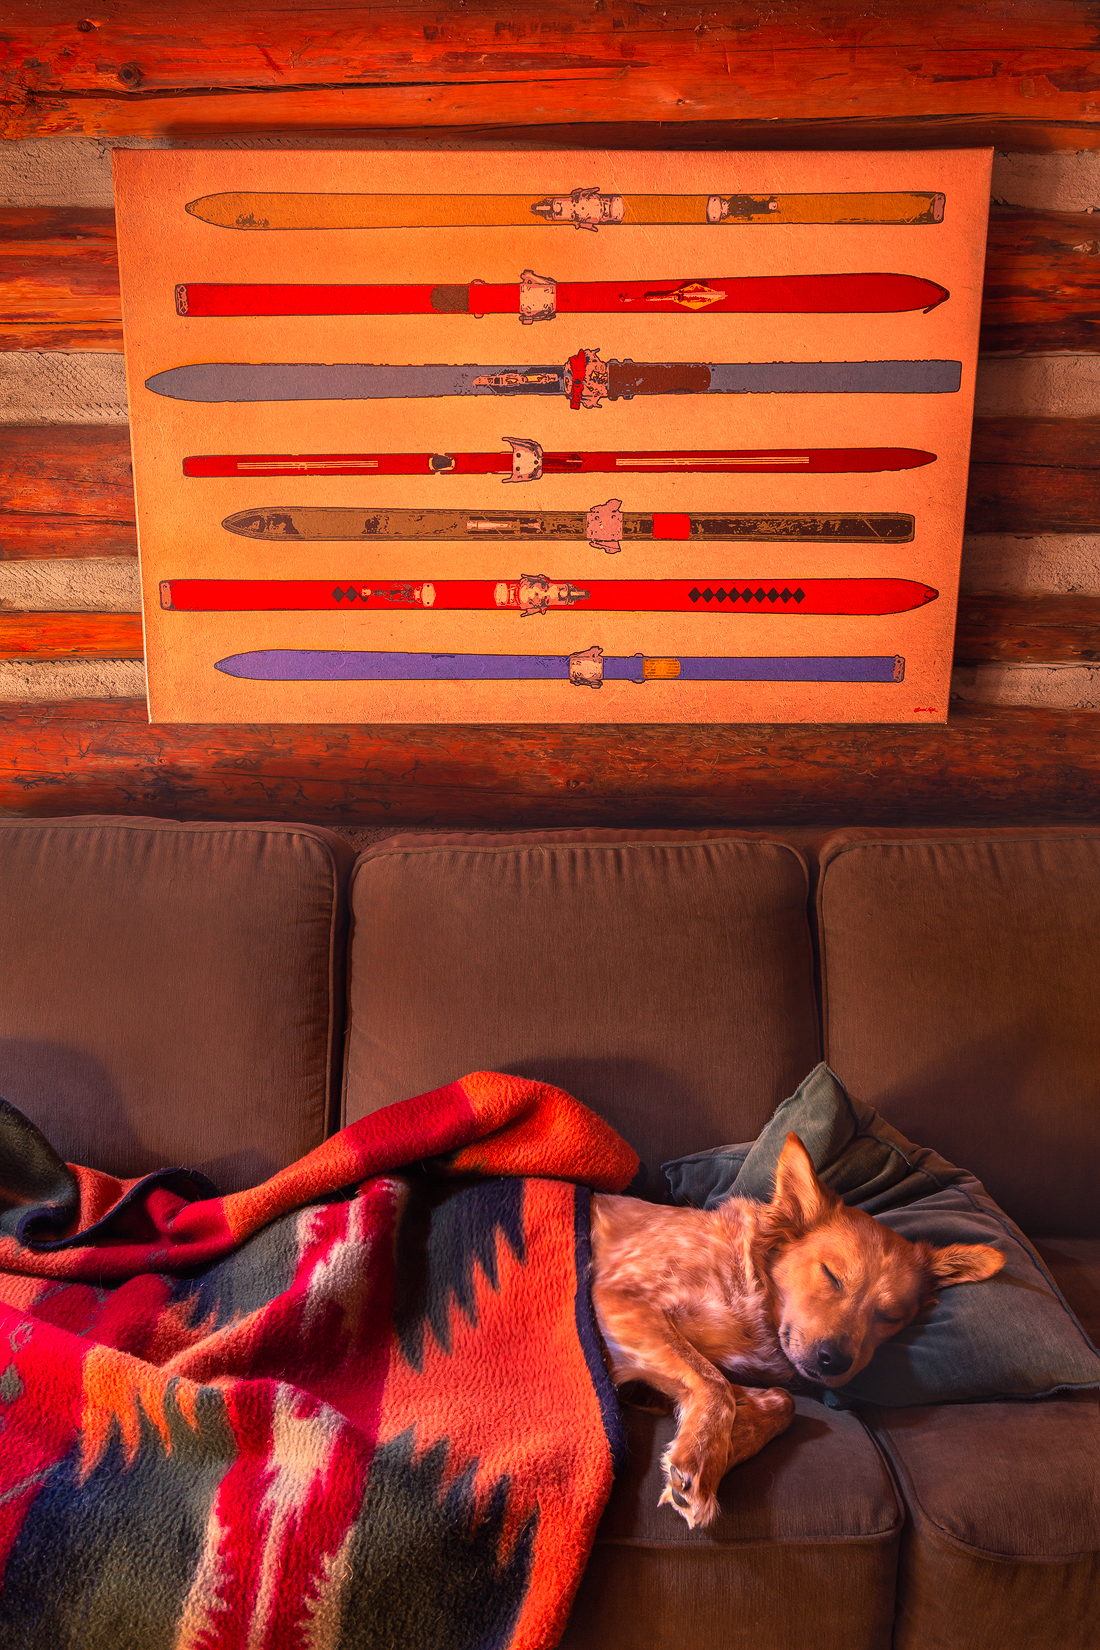
Melt your stress away. Prints Available.
Photo of the Week

Scenes like this, of a Christmas tree tucked away with lobster trap and buoys in a barn on the ocean, help make the holiday season on the coast of Maine a truly magical time of year. Prints Available.
Conservationist Magazine

I’m excited to announce that one of my photos from Cascade Mountain was chosen as the back cover of Conservationist Magazine. You can find this photo in the December/January issue of the magazine. For more information regarding Conservationist Magazine click here.
