While photography for me is not about receiving recognition, it does always feel good to have my work published, shared, and recognized. I’m very grateful that my photography and writing have been published in print, online, or on social media by a variety of companies and organizations, as well recognized in photo contests and art shows both locally and internationally. Select examples are outlined below.
Companies/Organizations
- Adirondack Life
- Adirondack Mountain Club
- Appalachian Mountain Club
- Backpacker Magazine
- Cape Cod Life
- Down East Magazine
- Eastern Mountain Sports
- I Love NY
- L.L.Bean
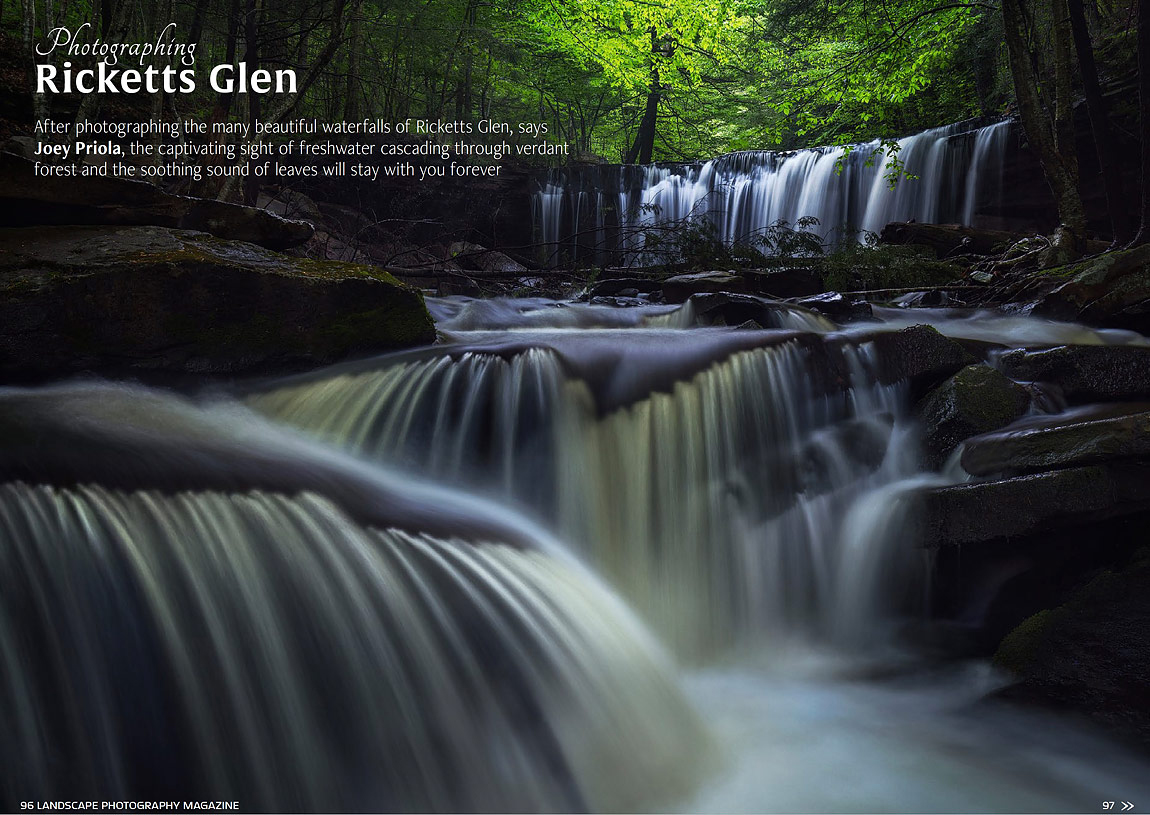
- Landscape Photography Magazine
- Local ADK Magazine
- New York State Department of Environmental Conservation
- Nova Craft Canoe
- Outside
- Smoky Mountain Living Magazine
- TÖST Beverages
- Venque Backpacks
- Visit Adirondacks
Awards/Recognition
- 2022 International Landscape Photographer of the Year; Top 101
- Appalachian Mountain Club 2020 Photo Contest; Second Prize in Lands, Waters, and Wildlife category
- Paul Nigra Center for the Arts 2019 Art Show; Best in Show
- Adirondack Life 2019 Photo Contest; Honorable Mention